As mentioned in Part 1, I am discussing my various workflow tools in order to have a more pleasant and efficient grad school experience. Last week, in Part 2, I discussed my general task management. This week I will be talking about reading and citations.
Readings and Citations
One of my jobs as a graduate student is to read. A lot. And when I am reading, I am synthesizing the information in order to use it in my own research. Some of the tasks involved in the reading process include: finding articles, reading (like the actual work of reading the documents), summarizes the work and creating an annotated bibliography, and citing sources in my own work. I will go through this process step by step.
Find Articles
To be fair, this step is a whole blog post in its own right and I really don’t have the time/space to do it here. Suffice to say, there are lots of ways to find the literature you need and determine if its right for you, etc. For the sake of this blog post, I will just use one of my own articles as found on Google Scholar.
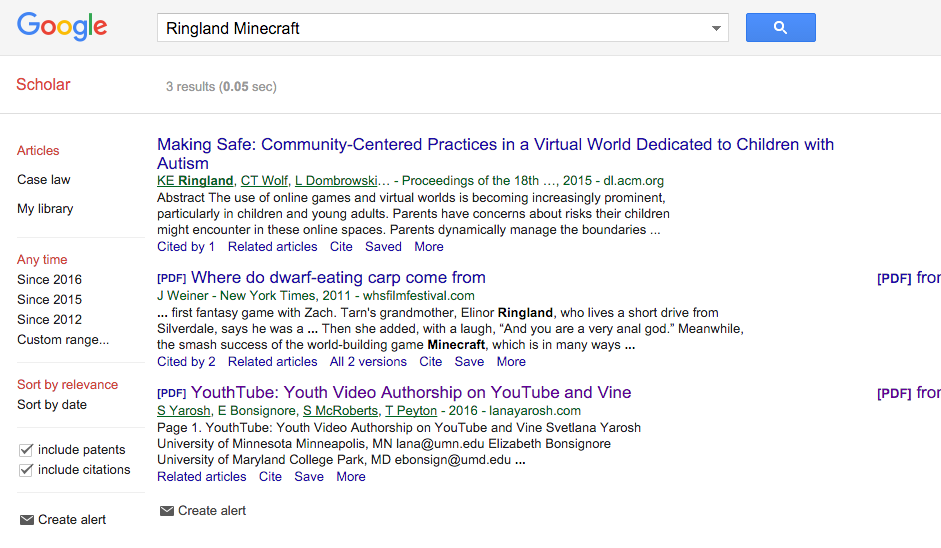
Searching for “Ringland Minecraft” currently yields 3 results in Google Scholar.
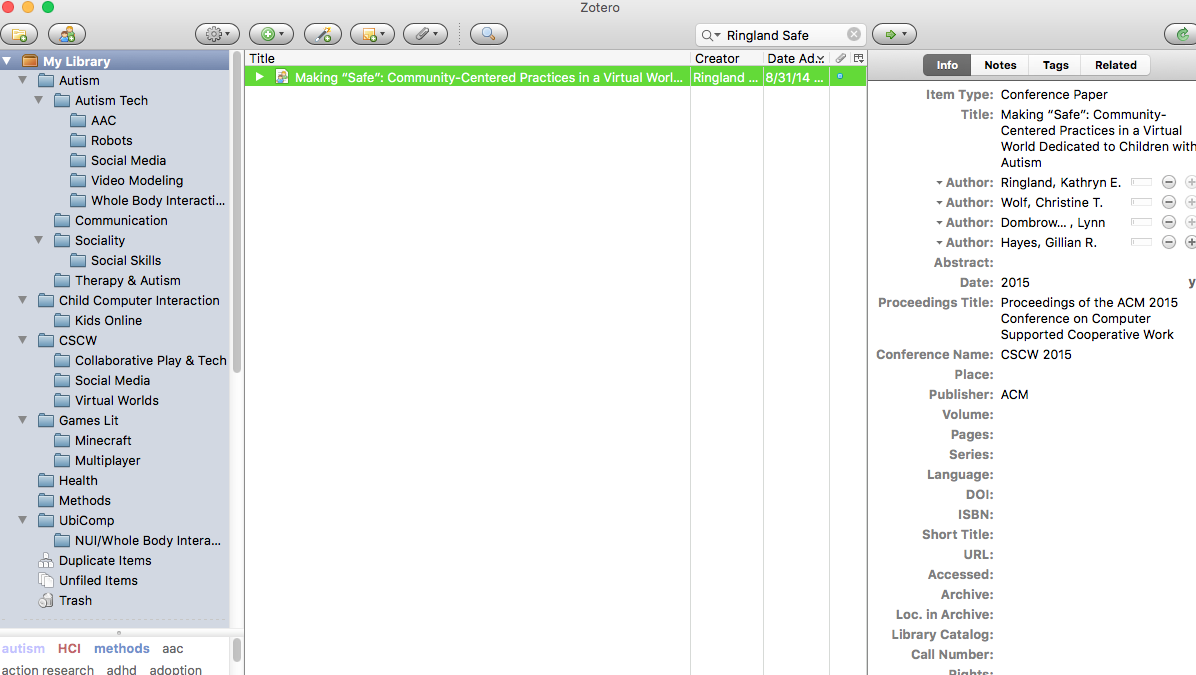
I download and import into Zotero the first article listed under the Google Scholar results for “Ringland Minecraft.”

Zotero entry for the article I am going to read.
Reading the Article
I’m going to be honest here. At this point, if I’m seriously reading this article then I’m probably printing out a hardcopy and handwriting my notes in. If it’s not a deep read, then I might just be jotting down some notes by hand in my notebook or in Evernote. I just absorb better when I’m handwriting my initial notes.
Annotated Bibliography
Ever since having to write an extensive literature review as part of my PhD Milestones for my program, I’ve become a huge fan of the annotated bibliography. However, it has taken me almost an entire YEAR to come up with a workflow for creating these annotated bibs. Follows is what I’m finally happy with. It took a bit to set up, but it’s smooth sailing now that I’ve got it.
- Read the article, take notes.
- Summarize main points of the article in 3-4 sentences. May also use keywords or anything else that will help you find the article again later.
- Add this summary to the “abstract” section of the article information in Zotero. Do NOT just copy and paste the abstract of the article – that will not help you find it later!
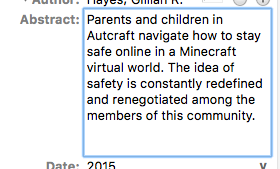
Filling in the abstract section in Zotero.
- Use Zotero to create an “annotated bibliography” from the article. The style I use, APA annotated bib style, uses the abstract section to create the annotated part of the reference.
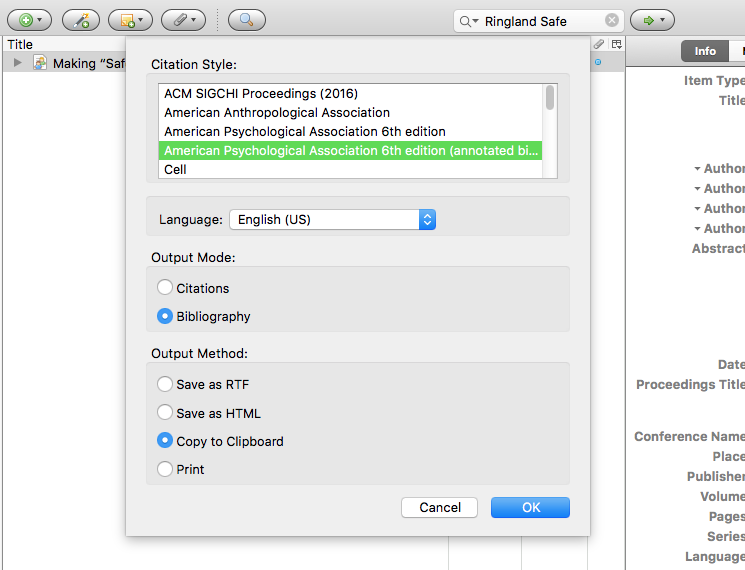
Creating an annotated bibliography item from Zotero.
- I then go to my Todoist Reading list where I probably had something like “Ringland safety paper” listed. I paste over the top of that the citation I just copied from Zotero.
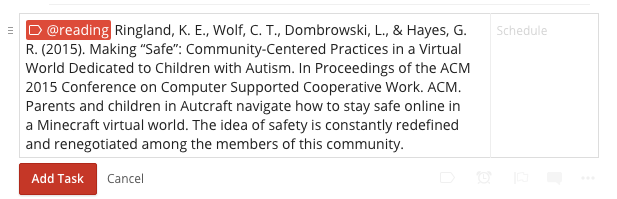
Adding a reading list task in the form of an annotated citation.
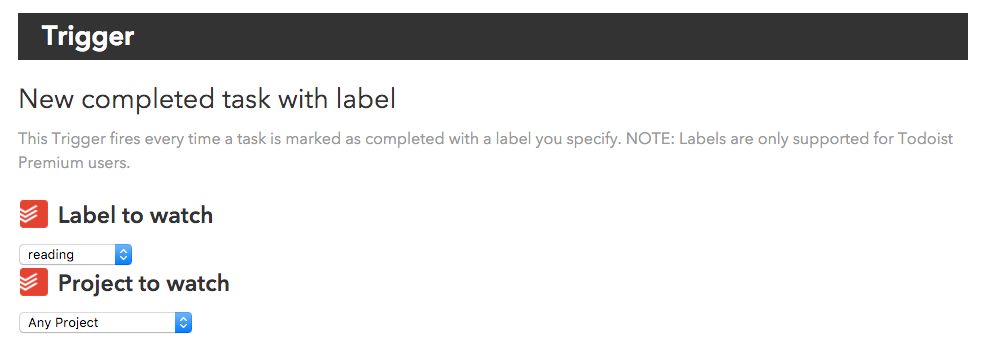
- Having labeled the task item in Todoist @reading triggers an IFTTT recipe that I created.

Completing the Todoist task with the label @reading triggers an IFTTT recipe.
- The IFTTT recipe looks for any Todoist tasks labeled @reading. It then takes the completed Todoist item and appends it to a note titled “Completed Readings” in my Evernote.
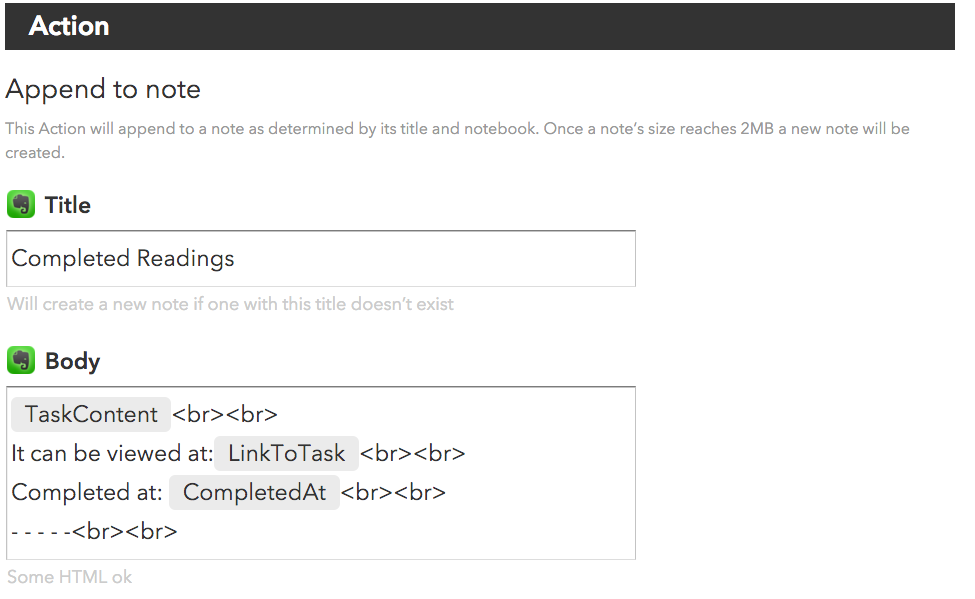
- I can now search all the readings I have read and summarized this way in one Evernote list.
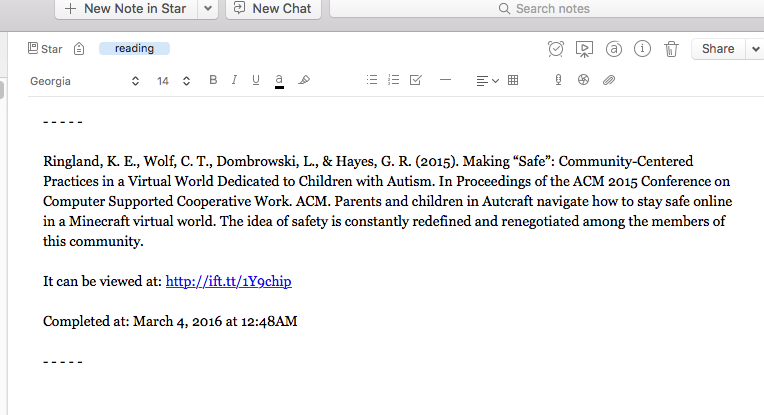
The completed readings are then found in Evernote.
I also have the information in Zotero. So anytime I want to create an annotated bibliography with multiple items, I can pull the citations from my Zotero library. This way if I want to make a themed bibliography for a specific lit review, I can pull all the sources I need without having to dig through many different lit list files to find them. The other great thing about Zotero and Evernote is that they are searchable, so if I just remember some keywords about a paper – like “parent safety” – then I can pop those into my Evernote to get the full citation.
Citing Sources
The final step in going through literature is to then cite it in your own work. I do this when I am working in Word. I use the Zotero Word plugin and just pop the cites directly into my document. The plugin also auto-generates the reference list, so that I don’t have to write it by hand. It is a huge time saver.
Hope some of that is useful to you as you go about designing your own workflow. Next week I will start talking about the writing process!